My biggest obstacle with this project was finding the right color of glitter; it tends to come in bright, flashy colors which doesn't jive with our wedding palette. Thankfully on my recent trip to Hobby Lobby I came across the perfect pack of glitter titled warm combo which included a dark blue and gray. I also bought a pack that had various whites and silvers, and one that was as close to peach as I could find. I have been dying to do this project and have finally knocked out a big portion of the jars and am ready to share the details with you all.
Here's what you need:

- Glitters in your choice of colors
- Double sided tape
- Glue (oops forgot to include that in the pic)
- Bowls for the glitter
- I found a sheet of paper to be beyond helpful
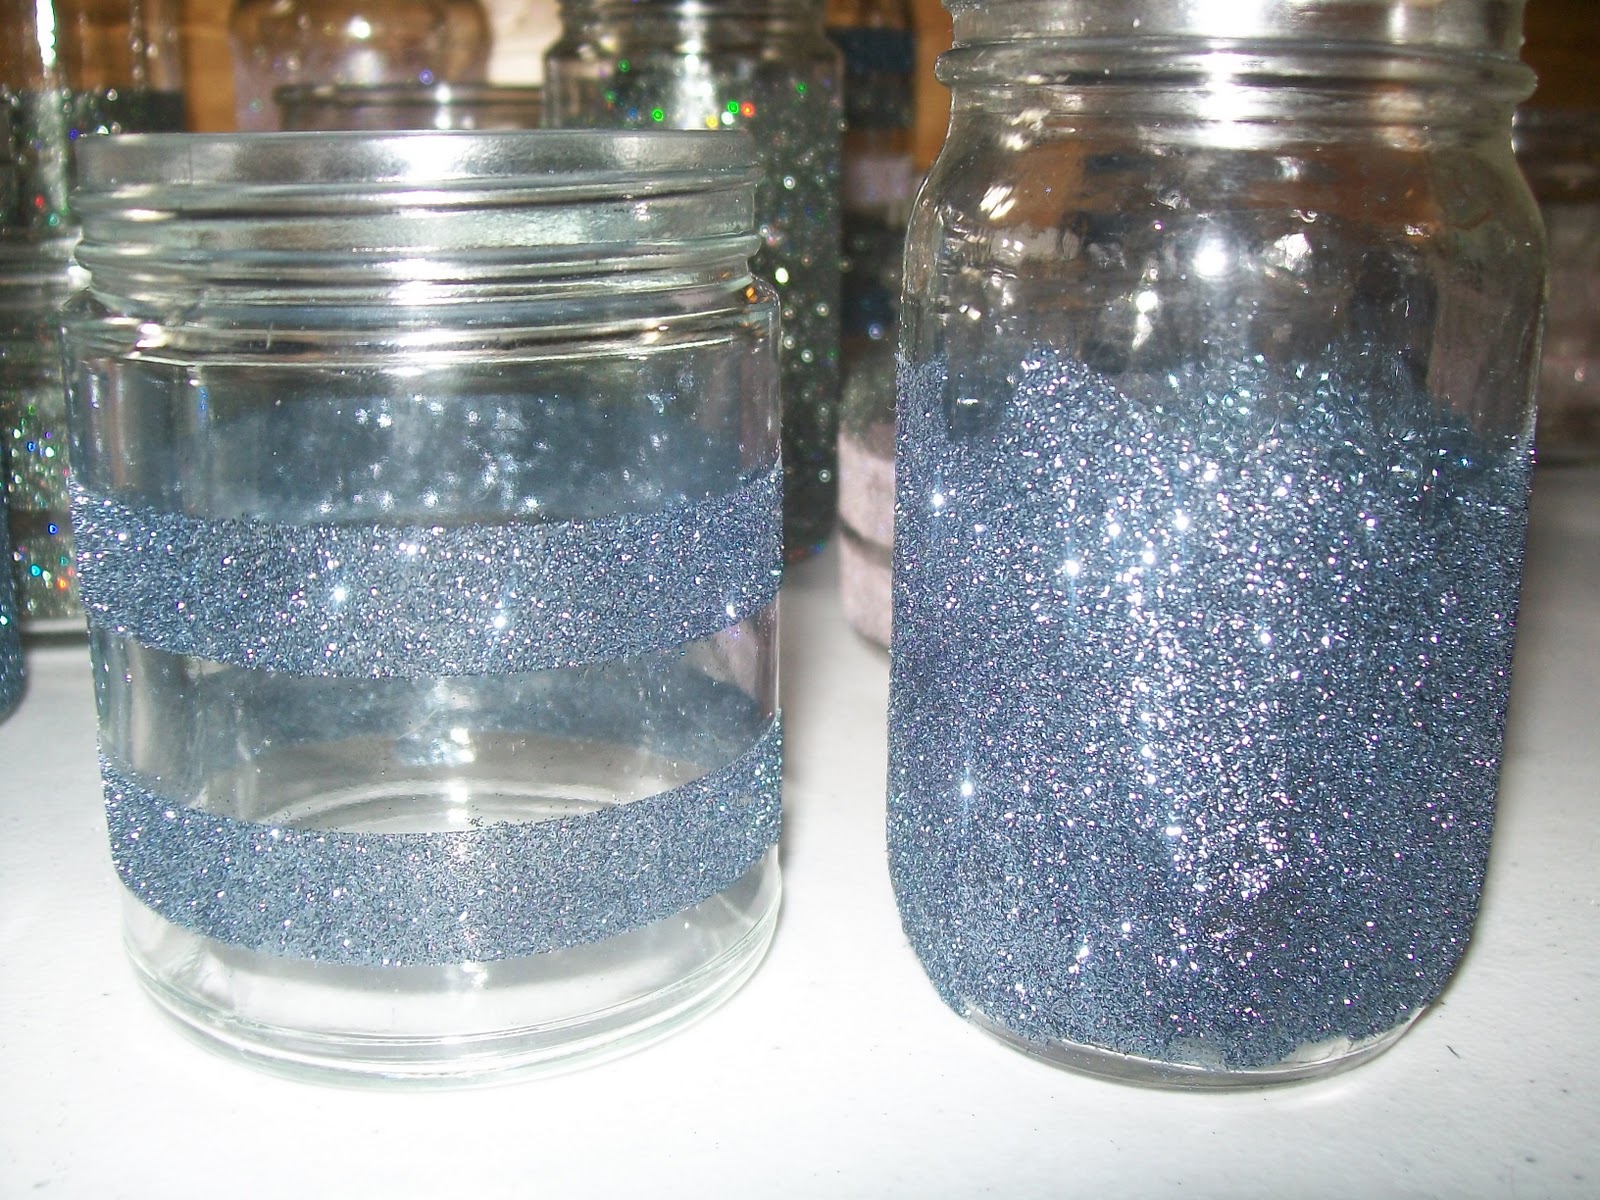
I made two styles of glittered jars, striped and full on sparkle. For the striped jar, you will use the double sided tape; fortunately the tape comes off and re-sticks without issue, so it's okay to take more than

After I had glitter all the way around, I tap-tap-taparooed to knock off the excess glitter onto the sheet of paper and then would pour the excess back into the bowl. For the full on glitter, I used the Elmer's craft bond dual tip glue pen and squeezed the glue, using the wide tip, onto the glass and then spread it around and thinned it out (I eventually learned that using a paper towel was efficient because then the glitter didn't end up sticking to my gluey fingers). This way obviously takes more glitter, and it was tricky to get enough glue without it being too thick.

Once you have the glue covered, do the tap thing again and suddenly you've transformed an Alfredo, pickle or salsa jar into a beautiful sparkly jar!

When I first came across this project, I had no idea what to expect to use in glitter and tape. The little vial of glitter in the packs are 9 grams each. Using one whole vial of the blue glitter, I got 9 jars; 4 solid and 5 striped. I went through one whole roll of Scotch's double sided tape, and maybe a quarter of a second roll to do stripes on 11 of the jars.
I was curious how the glitter jars would look with the twine wrapped jars, so I did a super mini, aka half ass, mock up. I only had two jars with twine, I didn't have the burlap runners (both of which are being stored at my parent's house) or a table cloth but even without all of those important details, I still liked the way they looked together.
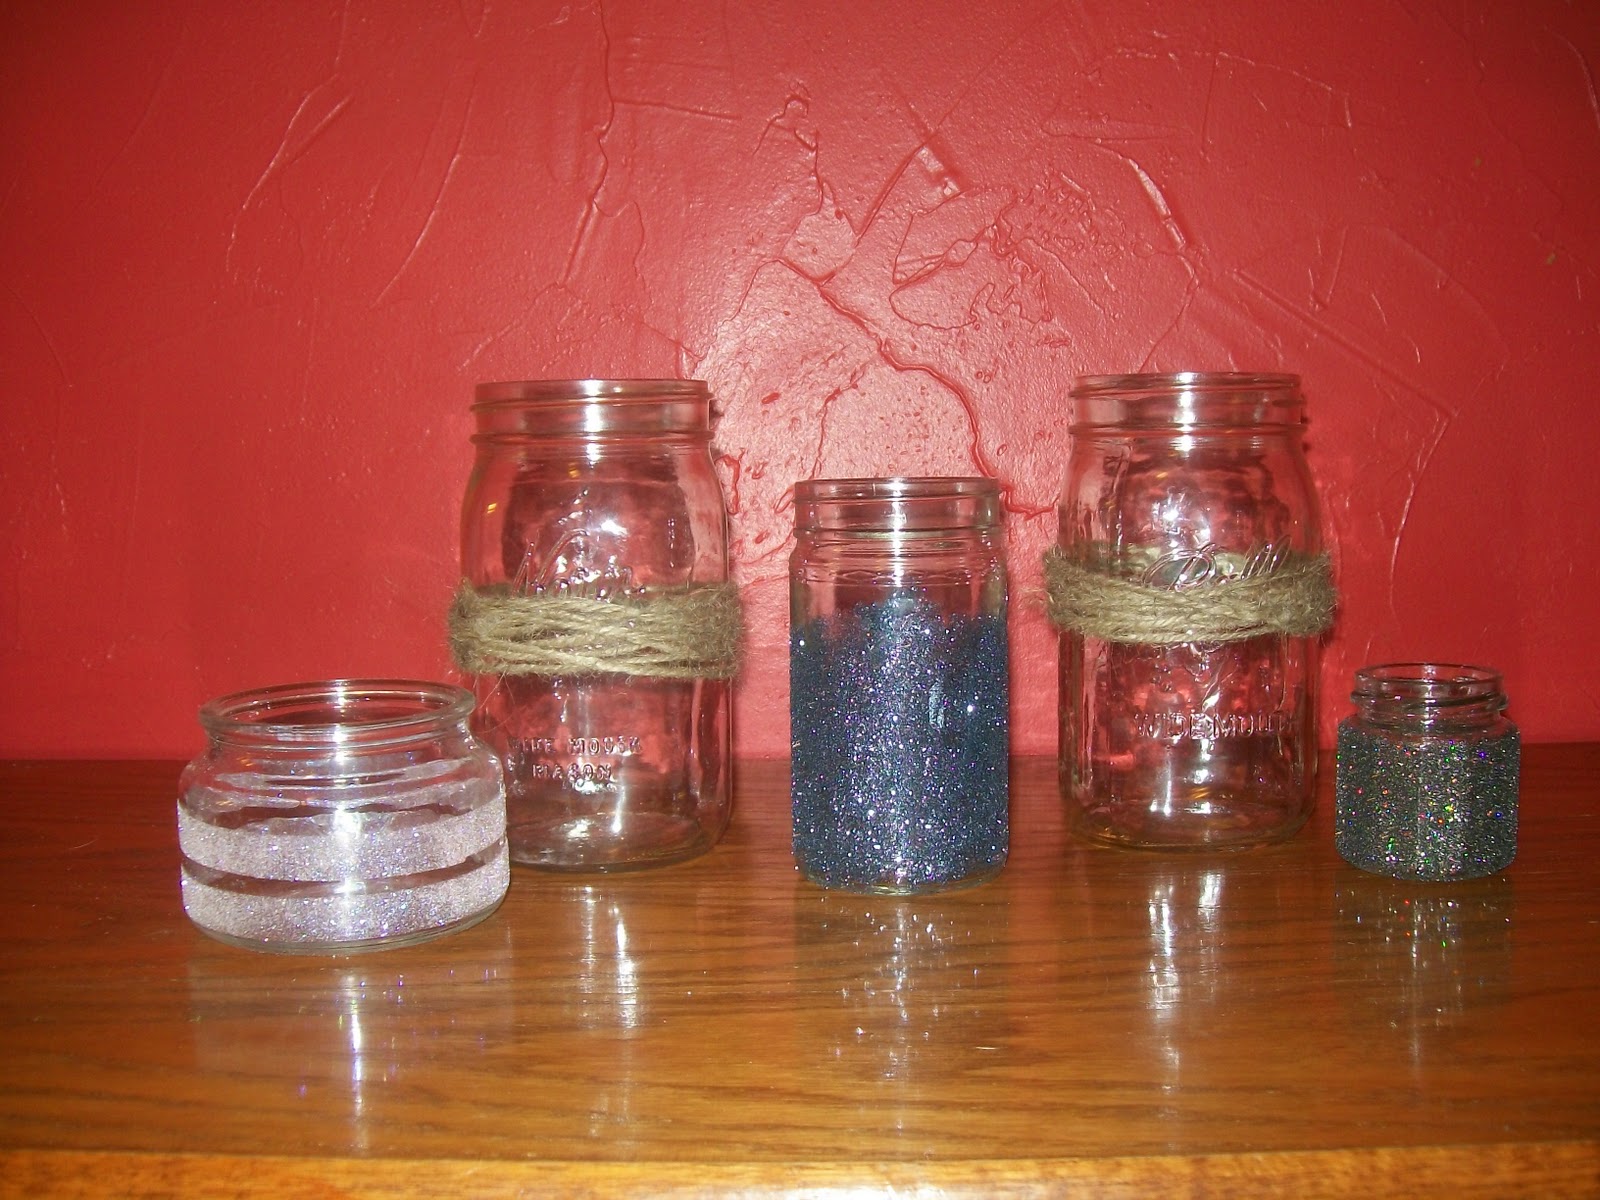
I don't think the jars will be alternated so strategically between glitter and twine, but I didn't have much to work with here. I envision them to be more randomly placed, fitting with our perfectly unmatched, whimsical and rustic 'theme'.
What DIY project have you been dying to do that you have recently completed? It's always risky business taking on DIY projects...were you as happy with the results as you expected?!
No comments:
Post a Comment